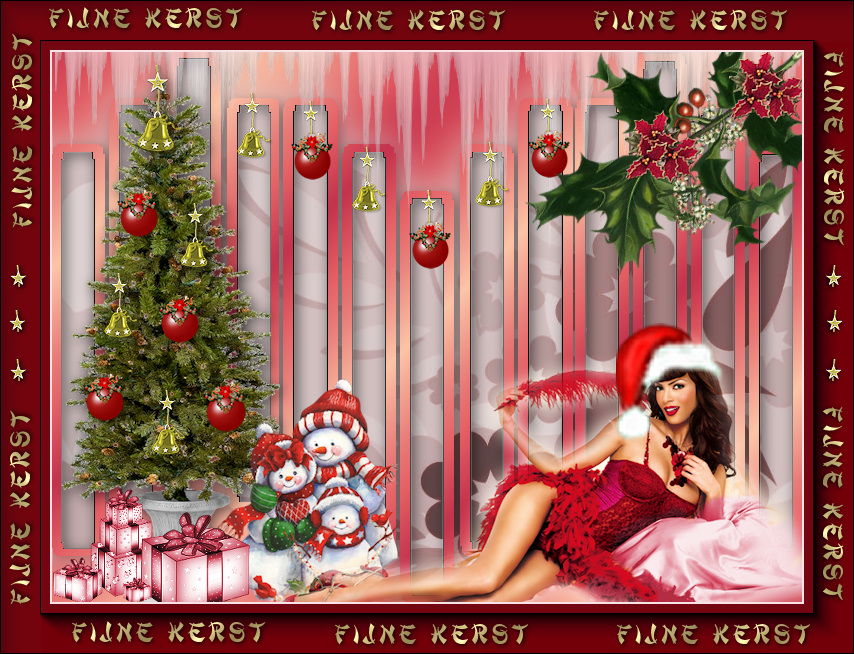
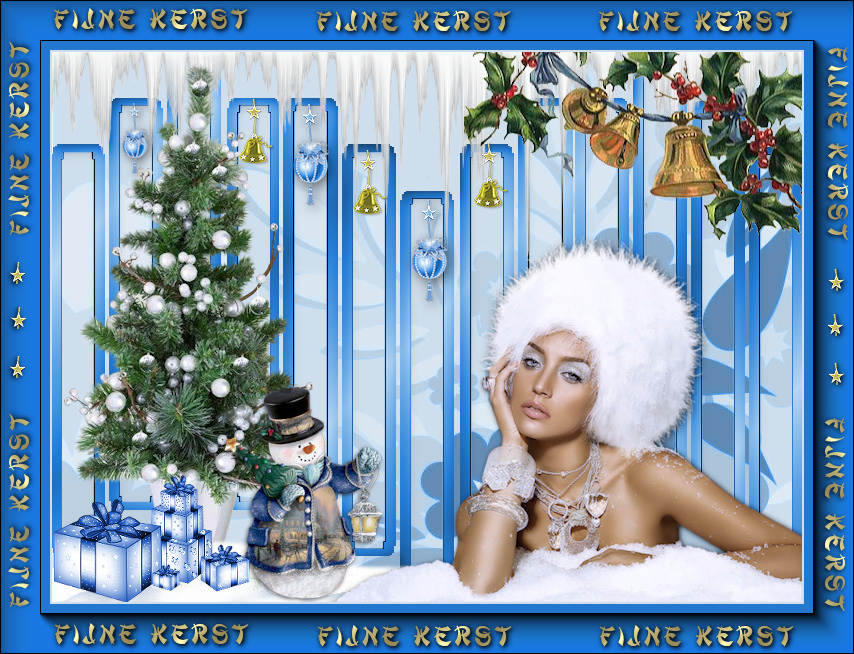
Christmas 01-2010

Translation made by Marion
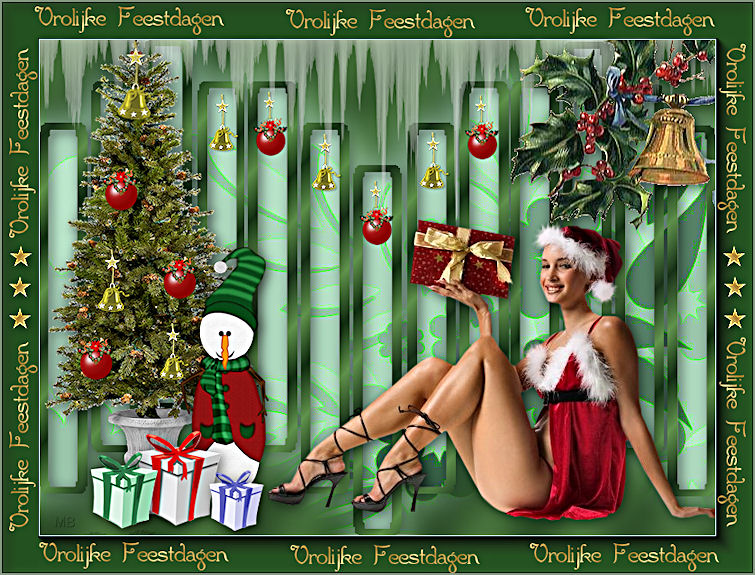
Supplies

Printlesson

Plugins
Plugins: AAA Frames---Foto Frame
Xero ---Porcelain
Place the gradient in the Gradient folder of PSP.
Tubes in folder of your choice.
Background color #808080.
Other colors that are used #b2ddc3---#30512b
 Follow the tutorial using the arrow
1.
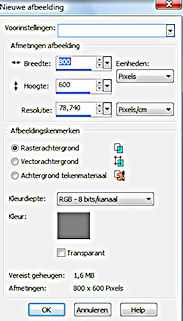
File-Open a new image :800---600---Pixels -Background color #808080.
2.
Layers--New raster layer.
3.
Selections---Select All
4.
Open---FLORNAMBG_01.jpg
Edit---Copy
Edit - Copy- Activate your work -Edit - Paste into Selection
5.
Selections---Select none
6.
Layers-Properties-Set the Blend Mode to--- Luminance.
7.
Layers---Duplicate
8.
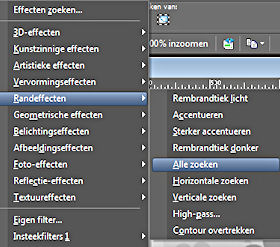
Effects---Edge Effects---NOTE---Find All----Checked
9.
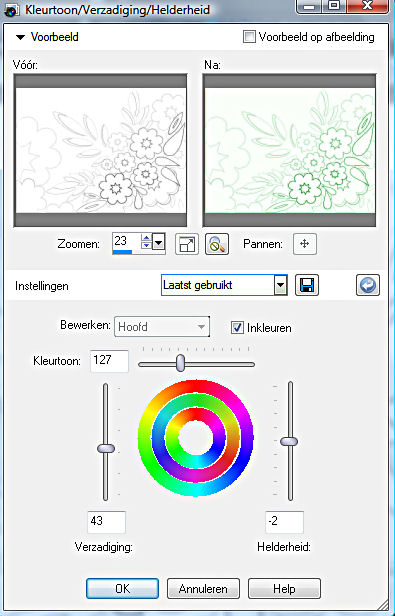
Adjust--Hue and Saturation
Hue/Saturation/Lightness
Colorize checked---Hue 127---Saturation 43---Lightness min 2. OK.
10.
Effects---Plugins
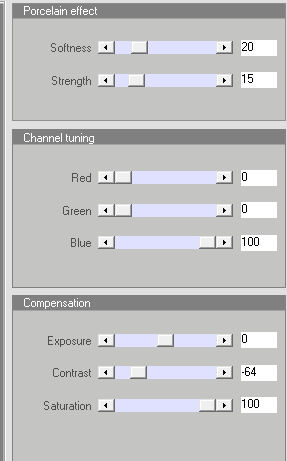
Xero---Porcelain.
with these settings 20---15---0---0---100---0---64---100.
11.
Layers--Properties
Modus---Color---Opacity ---50.
12.
Layers---New raster layer
Selections--Select All.
13.
Open---TLC-slate 08.psp
Edit---Copy
Edit - Copy- Activate your work -Edit - Paste into Selection
14.
Selections---Select none
15.
Activate your Magic Wand
Match Mode ----RGB---Mode ADD Shift ---Tolerance at 0 and Feather at 0.
Now click on the white bars one by one until they are all selected.
16.
Edit---Cut.
Selections---Select none
17.
Activate your Magic Wand ---(setting is still correct)
Now click one by one on the black of the bars,
so that they are all selected.
Set the foreground to linear gradient and choose:
Peachy Dream-FK—314-5. Angle 315---Repeat at---5.
Flood fill the selection with the gradient
18.
Selections---Select none
19.
Activate your Magic Wand ---Click in the upper left corner.
20.
Layers--- New raster layer
Flood fill the selection with the gradient
21.
Adjust---Blur
Gaussian Blur---Radius 20.
22.
In your layers palette, make the layer with the bars active.
Effects---3D- effects
Drop Shadow with these settings ---3---3---60---20---Color Black.
23.
Layers--Merge---
Merge visible
24.
Open tube---Seachell_JB_Icicles_2.psp
Edit--Copy
Activate your work -Edit - Paste as new layer
Slide the tube up against the edge
Layers--Properties---Opacity---50.
Selections--Select none
25.
Open tube---CAJ.SCR.FR KIT NOEL BLANC 85.psp
Image---Resize---2x 80%.
Edit--Copy
Activate your work -Edit - Paste as new layer
Move to the left
Repeat the Drop Shadow, setting is correct.
26.
Open tube---Seachell_JB_snowman.psp.
Image---Resize---4x 80%.
27.
Edit--Copy
Activate your work -Edit - Paste as new layer
Move to the left.
Repeat the Drop Shadow, setting is correct.
28.
Open tube---bells_with_holly.psp.
Edit--Copy
Activate your work -Edit - Paste as new layer
Repeat the Drop Shadow, setting is correct.
29.
Move that to the upper right corner---See finished image
30.
Open tube Kerstbal 1
Edit--Copy
Activate your work -Edit - Paste as new layer
Layers--Duplicate---Repeat until you have enough Christmas balls
To decorate the tree with it.
Repeat the Drop Shadow on each ball layer.
31.
Open tube-Klokje 1
Edit--Copy
Activate your work -Edit - Paste as new layer
Just hang in the Christmas tree
Repeat the drop shadow.
32.
Open Tube---4488.psp.
Edit--Copy
Activate your work -Edit - Paste as new layer
I placed these packages in front of the Christmas tree
Repeat the drop shadow..
33.
Tube—Kerstbal-2
Edit--Copy
Activate your work -Edit - Paste as new layer
Coming into the bars,
Used from the tube klokjes -1.
34.
If you find that everything is ok,
Open the tube---501SantaGirl_Czarina918.psp---
Edit--Copy
Activate your work -Edit - Paste as new layer
35.
Image - Mirror - Mirror Horizontal (Image - Mirror in older versions of PSP)
Place bottom right.
36.
Repeat the drop shadow.
37.
Image - Add Borders-Symmetric checked:---2 pixels---Color #b2ddc3.
38.
Image - Add Borders-Symmetric checked:---50 pixels---Color # 30512b.
39.
Effects---Plugins
AAA Frames---Foto Frame----default.
( the top slide at 40).
40
Activate Text Tool .
font of your own choice
In your material---Lock your foreground color.
Pattern on gold.
Type your Christmas wish. (see finished image).
41.
Effects---3D-effects
Drop Shadow 1---1---50---10---Color Black.
Layers---New raster layer
Place your watermark
Save as JPG
Enjoy this lesson.
Greetings Mieke
.

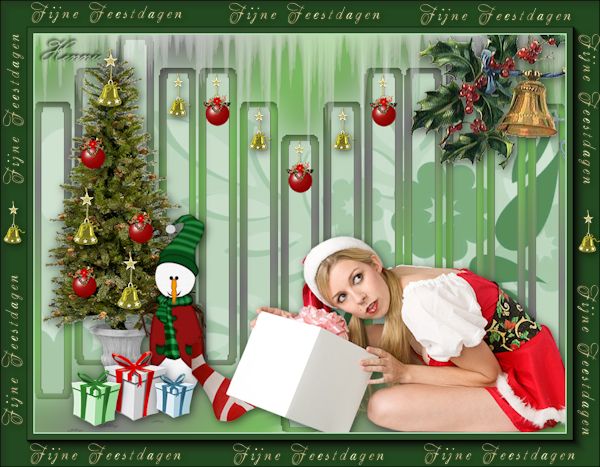
Hier nog een paar voorbeelden gemaakt door Kamalini en Hennie
